
Why You Should Insulate Your Basement Walls (and How to Do It Right!)
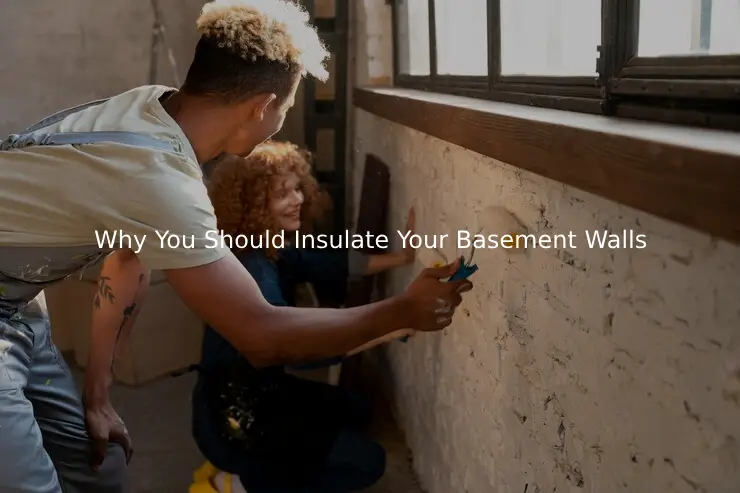
The basement may be one of the more neglected areas of your house however it’s about an ideal time to transform that! Insulate your basement’s walls to transform this normally cold and damp area into a warm space that is energy efficient. You may be looking to construct an entertainment area, guest suite or cut down on your power bills insulation of the basement walls is an important step you won’t need to miss!
Why Insulating Your Basement Walls is Essential
Did you know that your basement could account for an enormous portion of the heat loss in your home? If your basement isn’t properly insulated basement walls, cold air gets in and warm air is emitted, rendering your whole house less comfortable, and more energy efficient. This is why it’s important to insulate the walls of your basement:
1. Energy Efficiency
The basement that is insulated creates the appearance of a barrier to heat, which prevents heating transfer between the inside of your home and cooler outdoor ground. That means that your heating and cooling equipment don’t need to be working as hard in order to ensure a pleasant temperature, which will save your energy costs!
2. Comfortable Living Space
So, say goodbye to that cold boring basement you’re afraid of entering. With proper insulation your basement could turn into an inviting and relaxing space to enjoy movies with the family as well as a gym for your home or even a practical office.
3. Moisture Control and Durability
When combined along with the right sealing techniques, will help control the moisture level within your basement. It reduces the chance of mildew and mold, that can not only damage the materials, but also can harm the health of your family members.
4. Added Value to Your Home
A basement that is finished and insulated can add usable square footage in your home, immediately improving its value. This is an investment that will pay dividends if you plan to sell the house in the coming years.
How to Properly Insulate Your Basement Walls
Basement insulation isn’t an all-inclusive task. Methods can differ based the structure of your house or structure, the climate of your area, as well as humidity levels. However, don’t fret–we’re here aid in breaking everything down!
Step 1. Evaluate Moisture Issues
Prior to installing insulation it is essential to take care of any indications of moisture or leakage of water. Check your basement’s walls for gaps, cracks, or indications of moisture. Repair small holes by using waterproofing sealants and think about setting up a drainage system should your basement is frequently flooded. Remember, insulation traps everything–including unwanted moisture!
Step 2. Choose the Right Insulation Material
The kind of insulation you pick is crucial! Below are a few options:
- rigid foam boards (like or XPS and EPS) They offer excellent water resistance as well as a very high R-value (a measurement of resistance to heat) which makes them perfect for basements.
- Spray Foam Ideal to seal gaps or difficult-to-access places, it also provides insulation and an air-tight seal.
- The fiberglass (paired in conjunction with the use of a vapour barrier) Although it is budget-friendly, fiberglass shouldn’t be utilized in locations in which moisture is an problem.
Tips for a greater energy efficiency, search for insulation materials that have a more R-value for the area you are in.
Step 3. Install Vapor Barriers
The addition of a vapor barrier the inside on your wall is crucial to stop moisture from damaging the insulation as well as promoting the growth of mold. Simple polyethylene sheets can be positioned on the wall prior to you begin to install insulation.
Step 4. Frame Your Walls
If you’re considering finishing your basement by putting up the use of drywall, you should create a wooden or metal framing solution to support your walls that are insulated. The framing system will not just ensure that your insulation stays and in place, but will also give an ideal framework for attaching drywall and other finishes for walls.
Step 5. Install the Insulation
Attach the insulation you choose to your walls. The rigid foam board is easy to fix with glue, but spray foam could require professional assistance for an or even installation. In the case of fiberglass batts be sure that the vapor barrier has been put placed in order to stop water issues.
Step 6. Finish the Walls
When the insulation is completed then it’s time for the final elements! Apply drywall, paint or some other decorative methods to make a stunning and usable area.
Common Mistakes to Avoid
1. Skipping Moisture Control
Failure to deal with water problems prior to the time of need can lead to the development of mold, damp walls and many issues later.
2. Using the Wrong Type of Insulation
For instance, fiberglass is a good example. It can absorb water and decrease its efficiency. Be sure to choose the right materials for basements such as hard foam!
3. Forgetting Building Codes
Certain regions could have different specifications for insulation such as vapor barriers or completed basements. Check the local permit office in order to be compliant with local rules.
4. Overlooking Safety Precautions
If you’re working with foam or cutting material wear protective equipment such as goggles, gloves, or an eye mask to shield yourself.
Last Thoughts
Insulate your basement walls an investment that will increase the energy efficiency, comfort as well as the value of your property. Be sure to look into any issues with moisture, pick the appropriate insulation material, and use the correct installation methods for an effective end.
Also Read: Grout vs Caulk: What’s Best for Your DIY Project?