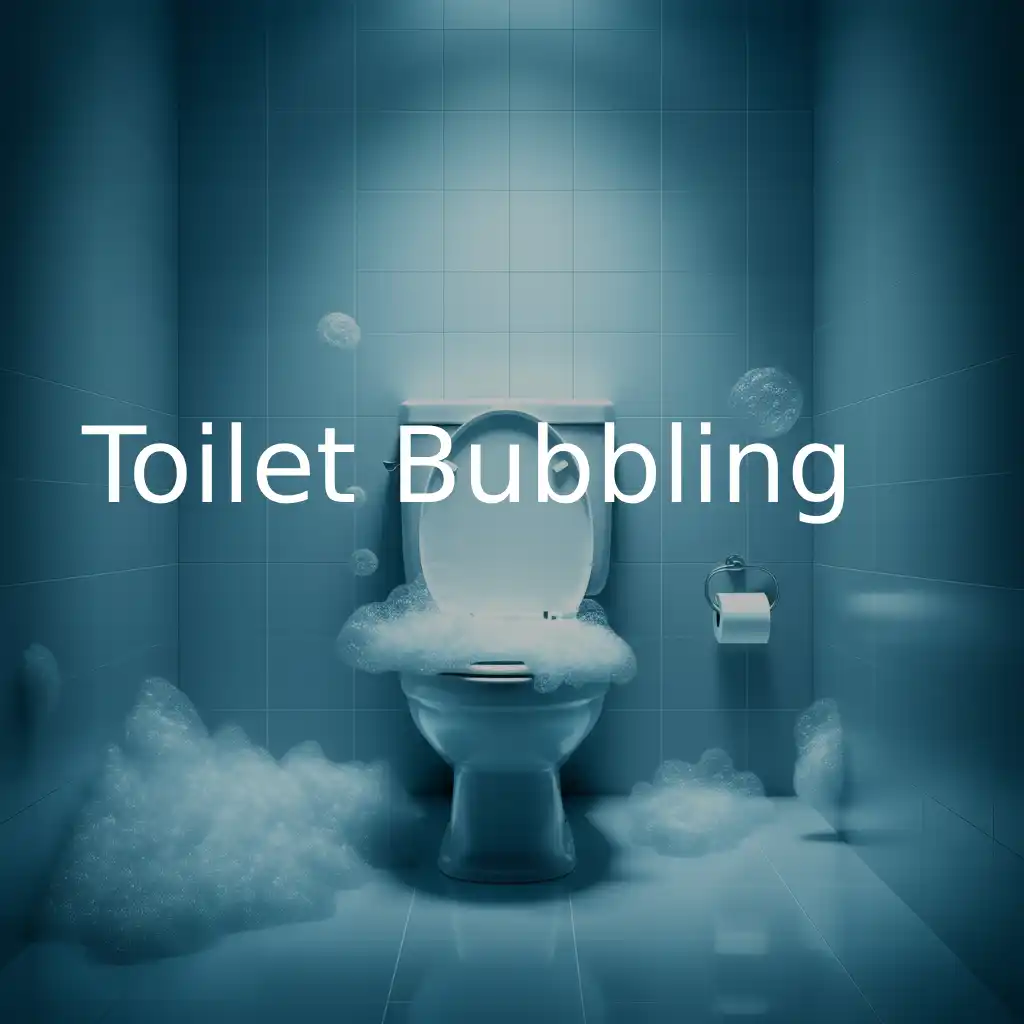

Is your toilet bowl making gurgling sounds, spitting air bubbles, or burping when you flush or run the shower? Discover the root plumbing causes, accurate diagnostic steps, and safe step-by-step DIY solutions to fix a bubbling toilet before it turns into a major sewage overflow.
Table of Contents
- 1. Introduction: Why a Bubbling Toilet Is a Warning Sign
- 2. The Science of Plumbing Physics: What Causes Toilet Bubbles?
- 3. Top 5 Reasons Your Toilet Is Bubbling or Gurgling
- 4. Diagnostic Checklist: Identifying the Exact Location of the Problem
- 5. Step 1: How to Fix a Localized Toilet Clog (The Flange Plunger Method)
- 6. Step 2: How to Clear Deeper Trapway Blockages (The Toilet Auger Method)
- 7. Step 3: How to Inspect and Clear a Blocked Roof Vent Stack
- 8. Step 4: Clearing Main Sewer Line Clogs (Cleanout Access & Hydrojetting)
- 9. What NOT to Do When Your Toilet Is Bubbling
- 10. When to Call a Licensed Plumber Immediately
- 11. Frequently Asked Questions (Comprehensive FAQs)
1. Introduction: Why a Bubbling Toilet Is a Warning Sign
A quiet, smooth flush is a sign of a healthy household plumbing system. So, when your toilet suddenly starts emitting strange gurgling sounds, releasing air bubbles through the trapway, or “burping” whenever you drain a bathtub, run the washing machine, or flush a neighboring toilet, it can be disconcerting.
A bubbling toilet is never an isolated noise; it is an active physical symptom of an internal pressure imbalance within your drainage or venting network. While a few occasional bubbles might seem like a minor cosmetic nuisance, ignoring this warning sign often leads to complete drain backups, foul sewer gas leaks inside your home, and raw sewage spilling over your bathroom floor.
Understanding the root causes of toilet bubbling and following a systematic, step-by-step troubleshooting protocol allows homeowners to resolve the issue quickly and safely before costly plumbing emergencies arise.
2. The Science of Plumbing Physics: What Causes Toilet Bubbles?
To effectively fix a bubbling toilet, it helps to understand how household drainage networks function under pressure. Modern plumbing relies on a balanced closed-loop system governed by two fundamental elements: liquid drainage lines and air ventilation pipes.
A. The Water-Air Balance
When you flush a toilet or drain a sink, a volume of heavy wastewater travels down the vertical drain pipes toward the main sewer line. As this water moves downward, it acts like a piston in a cylinder: it pushes air ahead of it and creates a vacuum (negative pressure) behind it.
B. The Role of the Roof Vent Stack
To keep water moving smoothly, plumbing systems feature vertical vent pipes (vent stacks) that extend upward through your home’s roof. These vents continuously draw outside air into the system to equalize internal air pressure, allowing wastewater to flow freely under gravity without creating vacuums.
C. How Trapped Air Creates Bubbles
When an obstruction occurs in either the drain line or the roof vent stack, moving wastewater compresses air trapped inside the pipe. Because water is denser than air, the compressed air seeks the path of least resistance to escape. It travels backward up the drain line and forces its way through the standing water seal sitting inside your toilet bowl—resulting in visible air bubbles and loud gurgling noises.
3. Top 5 Reasons Your Toilet Is Bubbling or Gurgling
1. A Localized Blockage in the Toilet Trap or Drain Line
The most common cause of a bubbling toilet is a localized clog situated directly within the toilet’s internal S-bend trapway or the immediate 3-inch drain pipe beneath the floor flange. Items like excessive toilet paper, facial tissues, thick paper towels, baby wipes, or dropped foreign objects create a partial dam. Water slowly squeezes past, but air pockets get trapped and bubble back up into the bowl.
2. A Main Sewer Line Clog
If the obstruction is located deep within your main underground sewer lateral—the pipe connecting your home to the municipal sewer or septic tank—it affects multiple fixtures simultaneously. Waste coming down from kitchen sinks, washing machines, or upstairs showers hits the sewer main clog, compressing air in the main line. The lowest open drain in the house (usually a ground-floor or basement toilet) becomes the exhaust valve for that trapped air.
3. A Clogged Roof Vent Stack
Because vent stacks exit through the roof, their open tops are susceptible to blockages from bird nests, fallen leaves, pine needles, dead rodents, or winter ice caps. When the vent pipe is blocked, flushing a toilet or draining a tub creates a suction vacuum. The system forcibly pulls air down through the toilet bowl trapway, causing water to sizzle, bubble, and drop below its normal level.
4. Municipal Sewer Main Issues
Sometimes the issue originates beyond your property boundaries. During heavy rainstorms, flash floods, or municipal sewer pipe repairs, city sewer mains can become overwhelmed with excessive stormwater. The intense pressure inside the city main pushes displaced air and sewage back up residential lateral lines, causing ground-floor toilets to bubble.
5. Full Septic Tank or Clogged Drainfield
For homes on off-grid wastewater systems, a bubbling toilet is often the first warning sign that the underground septic tank has reached maximum capacity or that the soil absorption field (leach field) is saturated and failing to filter effluent water away from the tank.
4. Diagnostic Checklist: Identifying the Exact Location of the Problem
Before pulling out tools or calling a professional, perform this quick multi-fixture diagnostic test to pinpoint the precise location of the blockage:
| Diagnostic Test / Action | Observed Symptom | Probable Cause & Location |
|---|---|---|
| Test 1: Flush the bubbling toilet. | Only this specific toilet bubbles, and water drains slowly or rises near the rim. | Localized Clog: The obstruction is contained within the toilet’s internal trapway or floor flange. |
| Test 2: Run the bathroom sink or shower. | The toilet bowl water bubbles or ripples when the sink or shower is running. | Shared Branch Line Clog: A blockage exists in the shared drain pipe serving that specific bathroom group. |
| Test 3: Run the washing machine or flush upstairs. | A basement or ground-floor toilet bubbles loudly, and water rises in lower tub drains. | Main Sewer Line Clog: The main sewer lateral or septic line is obstructed. |
| Test 4: Observe all house drains during use. | Multiple fixtures drain slowly, accompanied by a foul sewer gas odor, but no single fixture overflows. | Blocked Vent Stack: The roof ventilation pipe is obstructed, creating negative pressure vacuums. |
5. Step 1: How to Fix a Localized Toilet Clog (The Flange Plunger Method)
If your diagnostic test points to a localized blockage inside the toilet itself, a manual plunger is your first line of defense. However, using the wrong type of plunger or improper technique will yield poor results.
Tools Required:
- Flange Plunger (a plunger with an extended inner rubber sleeve/fold-out cup designed specifically for toilet drain contours).
- Rubber gloves and safety glasses.
- Old towels or rags laid around the toilet base.
Step-by-Step Procedure:
- Prep the Toilet Bowl Water Level: Inspect the water level in the bowl. If the bowl is full to the brim, bail out half of the water using a small bucket to prevent splashing. If the bowl is completely dry, pour 2 to 3 quarts of water into the bowl so the rubber plunger head can be fully submerged.
- Fold Out the Flange Sleeve: Pull out the inner rubber flange extension from the plunger cup. Standard flat cup plungers are meant for flat sink drains and will not create an airtight seal inside a curved toilet trapway.
- Insert at an Angle to Purge Air: Dip the plunger into the bowl at a 45-degree angle so the rubber cup fills with water rather than air. Trapped air inside the plunger cup absorbs your force, making plunging ineffective.
- Establish a Firm Airtight Seal: Center the flange extension directly into the drain opening at the bottom of the toilet bowl. Press down firmly to create a tight rubber-to-porcelain seal.
- Plunge with Controlled Hydraulic Pressure: Push down gently on the first stroke to expel lingering air, then plunge up and down forcefully for 15 to 20 seconds while keeping the seal unbroken. The objective is to push and pull water back and forth through the trapway to dislodge the trapped obstruction.
- Break the Suction Sharply: On your final upward stroke, pull the plunger back sharply to break the seal. If successful, you will hear a rapid rushing sound as standing water and dislodged debris drain down the pipe.
- Test Flush: Remove the toilet tank lid. Flush the toilet while holding your hand over the flapper valve chain—if water rises too high, quickly push the flapper down to prevent an overflow.
6. Step 2: How to Clear Deeper Trapway Blockages (The Toilet Auger Method)
If plunging fails to stop the bubbling, the blockage consists of dense material (such as paper towels, wet wipes, or sanitary products) stuck beyond the reach of a plunger. You will need a specialized toilet auger (closet auger).
CAUTION: Never use a standard flat metal plumber’s snake inside a toilet. Unprotected metal cables will permanently scratch, chip, and blacken the visible porcelain bowl surface. Always use a proper closet auger equipped with a protective rubber elbow guard.
Step-by-Step Procedure:
- Retract the Auger Cable: Pull the auger handle all the way up so the flexible metal cable retracts entirely inside the rigid protective tube, leaving only the corkscrew bulb extending from the rubber elbow.
- Position the Rubber Guard: Insert the curved rubber elbow into the bottom of the toilet bowl drain opening, pointing the tip upward toward the back of the trapway. Ensure the protective rubber coating rests directly against the porcelain.
- Drive the Cable Forward: Hold the outer guide tube firmly with one hand. With your other hand, rotate the crank handle clockwise while pushing downward slowly. The rotating steel cable will navigate the internal S-bend curves of the porcelain trapway.
- Hook or Break the Obstruction: Continue feeding the cable until you feel firm mechanical resistance. Keep rotating the handle clockwise with steady forward pressure. The corkscrew tip will either snag and entangle soft materials (like wipes) or break dense obstructions into small fragments.
- Retrieve the Cable: Once the cable advances past the blockage (usually 3 to 6 feet in), slowly pull the handle upward while continuing to turn it clockwise. This reels the hooked debris back out through the rubber guard.
- Clean and Test: Deposit dislodged waste into a trash bag (do not let it fall back into the drain). Flush the toilet several times with crumpled toilet paper to verify that full siphon flow is restored and bubbling has ceased.
7. Step 3: How to Inspect and Clear a Blocked Roof Vent Stack
If your diagnostic test showed that multiple household fixtures cause the toilet to bubble or gurgle, or if a sour sewer gas smell accompanies the noise, your roof vent stack is likely obstructed.
Safety First:
Working on a roof carries inherent fall risks. Wear non-slip rubber shoes, use a secured extension ladder, and work only during dry, clear weather. If you have a steep pitch roof or are uncomfortable working at heights, hire a professional plumber.
Step-by-Step Procedure:
- Locate the Vent Stack Opening: Climb safely onto the roof and locate the vertical plastic (PVC), cast iron, or copper pipe sticking out 1 to 2 feet above the roof line directly above your bathroom location.
- Perform a Visual Inspection: Shine a bright flashlight down into the open vent pipe. Look for visible debris clogging the top section—such as bird nests, dried leaves, twigs, or ice caps.
- Extract Surface Debris: Use a pair of long mechanical claw retriever tongs or a gloved hand to pull out loose surface blockages. Do not push leaves deeper down the pipe.
- Clear Deeper Obstructions with a Snake: If the top of the pipe is clear but a blockage lies further down, feed a heavy-duty 25-foot plumber’s drain snake directly down the roof vent stack. Rotate the cable to snag and pull out internal nests or leaf mats.
- Flush with a Garden Hose (The Water Test): Have an assistant stand near the ground-floor bathroom while you take a garden hose up to the roof. Insert a spray nozzle into the vent pipe and turn on a steady stream of water:
- If the vent is open: The water will flow freely down the stack, and your assistant inside will hear clean running water without any backing up or bubbling.
- If the vent is still clogged: Water will back up and fill the vent pipe toward the roof line. Immediately shut off the hose to prevent water damage inside walls.
8. Step 4: Clearing Main Sewer Line Clogs (Cleanout Access & Hydrojetting)
When an underground main sewer line or septic input pipe becomes clogged with grease, tree roots, or flushable wipes, clearing a single toilet fixture will not stop the bubbling. You must address the main sewer line directly.
Step-by-Step Main Line Protocol:
- Locate the Main Sewer Cleanout: Find your home’s main sewer cleanout access pipe—a 4-inch PVC or cast iron pipe with a threaded square cap protruding from your yard near the foundation wall, or located inside a basement floor.
- Relieve Line Pressure Carefully: Slowly loosen the threaded cleanout plug using a pipe wrench. Warning: If the main line is backed up with sewage under pressure, liquid waste may spill out around the threads as you loosen the cap. Stand to the side and keep a bucket ready.
- Inspect the Cleanout Basin:
- If standing sewage is sitting inside the cleanout pipe, the blockage is located downstream toward the street sewer or septic tank.
- If the cleanout pipe is dry inside despite your toilets bubbling, the blockage lies upstream within the main house stack branch lines.
- Run a Commercial Sewer Machine: Feed a commercial-grade 3/4-inch motorized sewer cable equipped with cutting blades through the cleanout pipe to cut through tree roots or thick paper plugs.
- High-Pressure Hydrojetting: For heavy grease accumulation, biological slime, or calcified scale, a professional plumber uses high-pressure water jetting (hydrojetting) at 3,000+ PSI to scour the main line completely clean.
9. What NOT to Do When Your Toilet Is Bubbling
Improper reaction to a bubbling toilet can cause structural property damage, personal injury, or ruined plumbing fixtures. Avoid these common mistakes:
- DO NOT Pour Chemical Drain Cleaners Down the Toilet: Chemical drain openers containing lye or sulfuric acid generate intense exothermic heat reactions that can crack porcelain toilet bowls, melt PVC glue joints, and corrode old cast iron pipes. Furthermore, if the chemical fails to clear the clog, your bowl becomes filled with toxic, caustic acid water that burns skin during subsequent plunging attempts.
- DO NOT Continue Running Other Water Fixtures: If your toilet bubbles when the shower or laundry machine runs, stop using water immediately. Continuing to run water will fill the blocked main line until raw sewage overflows onto your floors.
- DO NOT Flush Repeatedly: Continuously flushing a bubbling toilet will not force the clog through—it will simply fill the reservoir tank capacity and cause the toilet bowl to overflow onto your bathroom floor.
- DO NOT Force Unprotected Metal Cables Into Porcelain: Attempting to snake a toilet using a standard wire coat hanger or unshielded metal drum snake will scratch and strip the protective ceramic glaze off the porcelain bowl.
10. When to Call a Licensed Plumber Immediately
While minor localized trapway clogs can be resolved with a flange plunger or closet auger, certain severe scenarios require professional intervention:
- Raw Sewage Backing Up into Showers or Tubs: If flushing your toilet forces blackish, foul-smelling wastewater into nearby shower stalls, floor drains, or bathtubs, you are dealing with a main line sewer collapse or severe tree root intrusion.
- Persistent Bubbling Despite Clearing Vents and Traps: If plunging, augering, and vent cleaning fail to resolve the gurgling noises, your main underground sewer line may have a belly (sagging pipe section) or fractured joints.
- Strong, Unexplained Sewer Gas Odors ($H_2S$): Exposure to hydrogen sulfide gas poses serious health risks. If bubbling is accompanied by a persistent rotten-egg smell inside living quarters, call a technician immediately.
- Simultaneous Multi-Neighbor Plumbing Failures: If neighboring homes on your street are experiencing bubbling toilets and slow drains at the same time, notify your municipal water and sewer authority right away—the city main is likely blocked.
11. Frequently Asked Questions (Comprehensive FAQs)
Q1: Is a bubbling toilet a dangerous plumbing emergency?
A bubbling toilet is an early warning indicator rather than an immediate disaster. However, if left ignored, the underlying blockage will worsen, eventually leading to raw sewage backing up into your living spaces. It should be diagnosed and resolved within 24 to 48 hours.
Q2: Why does my toilet bubble only when the shower or bathtub drains?
This occurs because the shower and toilet share a common bathroom branch drain line. As a large volume of water drains quickly from the bathtub, it passes a partial obstruction in the shared pipe. Compressed air behind the blockage travels backward through the lowest available opening—which is the water trap in your toilet bowl.
Q3: Can heavy rainfall or flooding cause my toilet to bubble?
Yes. Torrential rainstorms can inundate municipal stormwater networks or saturate off-grid septic drainfields. Excess groundwater enters sewer pipes through tiny cracks or unsealed joints, increasing water volume and forcing air back up residential lateral pipes into home toilets.
Q4: How much does it cost to fix a bubbling toilet professionally?
If the issue is a simple localized clog, professional plumbing snaking usually ranges between $150 and $300. If the job requires a video camera inspection, roof vent clearing, or main sewer line hydrojetting, costs typically range from $350 to $800+ depending on accessibility and severity.
Q5: Will a bubbling toilet fix itself over time?
No. Organic waste, toilet paper, tree roots, grease, and blocked roof vents do not dissolve or disappear on their own. The air bubbles will continue until the physical obstruction is mechanically removed or the ventilation path is restored.